
- By admin
- Residential Roofing
- 0 Comment
After the Storm: How to Navigate Your Insurance Claim & Get Your Home Back
Hail, wind, and Texas storms don’t wait for a good time, but knowing the right steps can make all the difference between a smooth claim and a long, stressful fight.
Roofing · Siding · WindowsIf a storm just rolled through your neighborhood and left some damage behind, first things first, take a breath. You’re not alone, and there’s a clear path forward. Whether it was golf ball-sized hail, 70 mph winds, or both, Texas storms can do serious work on your roof, siding, and windows. The good news? Most homeowners insurance policies are designed to help with exactly this kind of damage. The key is knowing how to work the process effectively — starting from the moment the skies clear.
Mitigate the Damage First — Tarp It Up
Before you even call your insurance company, your first job is to stop the damage from getting worse. Insurance policies have what’s called a duty to mitigate, meaning you’re expected to take reasonable steps to prevent further loss. If you ignore a gaping hole in your roof and rainwater ruins your interior over the next week, that secondary damage could be denied.
That’s where emergency tarping comes in. A quality tarp secured over a damaged section of roof can keep water out while you work through the claims process.
What good emergency tarping looks like
- Heavy-duty poly tarp (6 mil or thicker) that extends past the ridge and overlaps all damaged areas
- Secured with wood battens and screws — not just bungees or rocks
- Tarp covers at least 3 feet beyond all visible damage on every side
- Photographed and documented with timestamps before and after installation
Save every receipt for emergency tarping and temporary repairs. These costs are typically reimbursable under your policy’s emergency repair provisions. Document everything with timestamps.
If you’re not comfortable getting on the roof, and for good reason, a qualified roofing contractor can handle emergency tarping quickly, usually within 24–48 hours of a storm event. The Texan Roofer offers emergency response services for exactly this reason.
Document the Damage — Then File Your Claim
Once your home is stabilized, it’s time to document everything you can see and file your claim promptly. Most policies have a reporting window, and Texas law gives carriers specific deadlines to acknowledge and respond to claims, so don’t sit on it.
Walk your entire exterior and photograph damage to your roof, siding, gutters, windows, and any outbuildings. Use a time-stamped camera or your smartphone, and capture both wide shots (for context) and close-ups (for detail). The more evidence you have, the stronger your position.
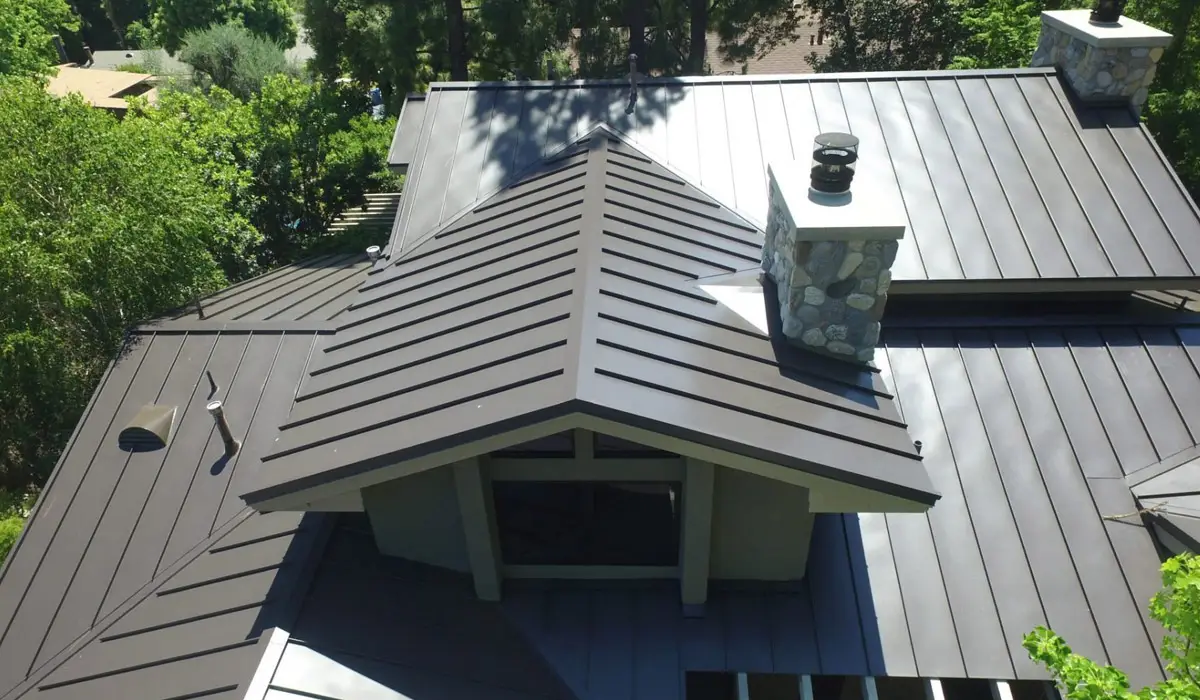
Roof Damage
Cracked, bruised, or missing shingles; damaged ridge caps; dented flashing; granule loss in gutters
Siding Damage
Dents, cracks, holes, or displaced panels in vinyl, fiber cement, or wood siding
Window Damage
Cracked or broken glass, damaged frames, compromised seals, and damaged screens
After filing, your carrier will assign an adjuster to inspect the property. Be present for this inspection, and consider having your general contractor present as well. A contractor who understands insurance claims can point out damage that a field adjuster might overlook.
The Sworn Proof of Loss Statement
You may receive, or be required to submit, a Sworn Proof of Loss. This is a legally binding document in which you, as the policyholder, formally state the nature and dollar amount of your claimed loss. It’s signed under oath, and getting it right matters.
The Proof of Loss typically requires:
- Date and cause of loss (e.g., “hail and windstorm” with the date of the event)
- An itemized list of damaged property and estimated repair or replacement costs
- Confirmation that the property was insured at the time of the loss
- Your notarized signature affirming the accuracy of everything stated
Submitting a Proof of Loss with inaccurate information, even accidentally, can jeopardize your entire claim. Have a contractor provide a detailed written estimate before completing this document so your stated repair costs are well-supported.
Under Texas law, you typically have a specific window after the carrier’s demand to submit your Proof of Loss. Check your policy’s declarations page for the exact timeframe, and don’t miss it. Some carriers will use a missed deadline to deny or reduce a claim.
Hiring the Right Contractor for Exterior Repairs
After a major storm event in Texas, the number of out-of-state “storm chasers” that appear in local neighborhoods can be staggering. These contractors often offer quick, cheap work, and then disappear before you discover the problems they left behind. Here’s how to protect yourself.
What to look for in a roofing and exterior contractor
- Insured in Texas — Always ask for proof of general liability and workers’ compensation insurance before anyone steps on your roof.
- Local, established business — A contractor with a physical presence in your area has real accountability. Look for verified reviews, a real address, and a track record in your market.
- Insurance claim experience — Working a roof replacement is different from working an insurance claim. You want a contractor who understands supplement processes, code upgrades, and how to communicate with adjusters.
- Written, itemized estimate — Never accept a verbal bid. A proper estimate breaks down materials, labor, and scope for each trade: roofing, siding, and windows separately.
A note on matching and code compliance
Texas homeowners should know that most policies cover like-kind-and-quality replacement, meaning your new shingles, siding, or windows should match what was there before in appearance and performance. If your carrier’s initial scope leaves out matching undamaged sections or code-required upgrades (like drip edge, ice and water shield, or updated flashing), a knowledgeable contractor can help document and request those supplements. Don’t leave money on the table.